Over the years I’ve bought some less than impressive consumer routers, so these days I run my own self-built hardware firewall appliance. Surprisingly, deciding on which option was best for my needs was not as easy as I had hoped.
Building a hardware firewall requires you to decide on the hardware your firewall/router computer operating system will be installed on. Like myself, some people might use an old PC. Others might decide to install their selected firewall operating system onto a rack mount server. However one decides to do this, the completed act of installing this OS onto the dedicated hardware creates a dedicated hardware firewall.
And unlike a software firewall, hardware firewalls serve a single dedicated purpose – to act as a gateway appliance for your network. Having had experience with three popular firewall operating systems in the past, I found that choosing the “right one” is a matter of perspective.
In this article, I’m going to share my experience and overall impressions about those three different firewall solutions. Some of these are highly advanced while others are incredibly easy to use. Each of these solutions share something that I feel good about sharing with my readers. All of the firewalls are easily downloadable without any annoying sign-up pages (I’m looking at you, Sophos).
Untangle
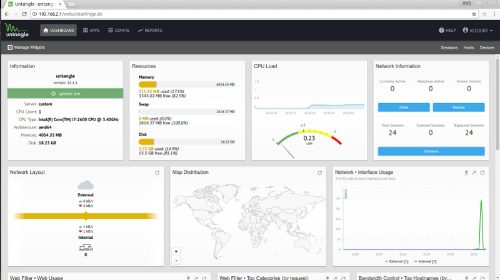
The first option is based on Debian Linux and is by far the easiest. I’ve dabbled with Untangle in the past and despite some issues I’ve had, it does provide some fairly straightforward functionality. All you’ll need is Linux tools along with the Chromium browser.
I can say in all honesty that if you cringe at the idea of building your own hardware firewall, Untangle might be an option for you. For those of you familiar with the firewall scene, Untangle’s closest comparable firewall is pfSense, in terms of available addons and overall functionality.
Untangle is considered to be Unified threat management (UTM). In addition to that tool set, Untangle also provides you with the option of running it as a router or as a transparent bridge. The later is useful if you prefer to use another firewall appliance in front of it, but still want to use some of Untangle’s non-router functionality.
Installation and initial setup for Untangle in graphical mode was almost automatic. It detected everything, including my NIC cards right out of the box. Overall, the install felt like most GUI installers for Linux distros. Outside of answering lots of yes/no questions, the installation process was fast.
At first boot, the setup wizard continued in a browser window inside of Untangle. Language, password, etc, were all asked of me. I was then asked to choose either router or transparent bridge mode. I opted for router mode since I wanted the full Untangle experience.
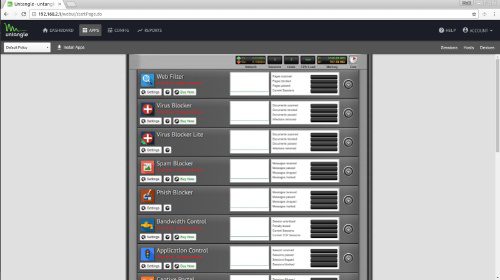
After logging into the cloud services for updates and the like, I then opted to install the default Untangle apps. The funny thing about Untangle apps is they’re basically widely available open source applications built with easier interfaces. In short, you’re paying Untangle for their implementation of the apps.
For example:
- Intrusion detection “okay” (Free) based on Snort.
- Phishing blocker (ClamAV engine and phish signature database)
- Spam Blocker – Uses SpamAssassin
Now it’s worth noting that while many of the apps have free versions, some do not. The best way to avoid spending a fortune on Untangle apps is to bundle buy with NG Firewall Complete. Still though, this alone is $50 per year for functionality found elsewhere for free. You’re paying for convenience and ease of use. As a matter of simple fact, Untangle is incredibly easy to use with a minimal learning curve. So consider this if you choose Untangle.
pfSense
This is the firewall I run in my home. Its learning curve is higher than Untangle, but amazing functionality doesn’t have to cost you anything. You only need to pay for advanced support, not packages and function. Like Untangle, pfSense is also Unified threat management (UTM). And as with Untangle, pfSense also offers full router and transparent bridge functionality. However, you must take extra steps to craft pfSense into a transparent bridge.
The installation itself is fairly easy. The most important things are to choose “Quick and Easy” for the installation method and making sure to select the standard kernel. This allows you to have video access for a monitor later. You’re also going to find that you’ll be asked about setting up a vlan or not. This is nice as it means getting this out of the way right off the bat.
Side note: Because this is a FreeBSD operating system, you’re going to save yourself a lot of frustration by using Intel brand NICs. I run with an Intel PWLA8492MT NIC which offers “two NICs” for the price of one. The advantages being that it is designed for servers and also takes some of the load off of the CPU.
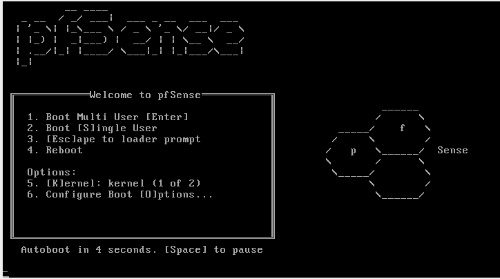
Once pfSense is installed, you’re then presented with a useful list of choices from the terminal vs a blinking cursor. This is immensely helpful for newcomers. At this stage, it also means your web GUI is accessible at https://192.168.1.1/ – this can be changed to http later. Once you’ve arrived at your Web GUI in your browser, you just follow along by entering the needed information: Hostname, domain, DNS info, DHCP, LAN IP address and so on.
3
Out of the box, you’re basically set and ready to go. Like with any firewall appliance, you’re going to need to become comfortable with ports (perhaps even using Universal Plug and Play), DNS Forwarder, DNS Resolver, NAT, Aliases, Rules, Schedules and so on. Point being, pfSense is powerful – but you may want to find some guides to help you along in your customization.
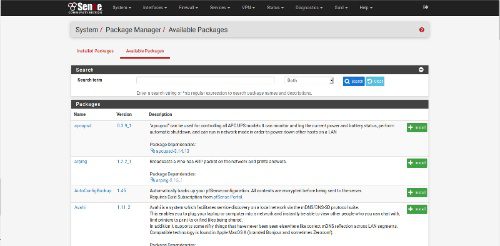
As for extended functionality, this isn’t merely something available for Untangle. You’ll find that pfSense also has a great addon system for stuff like Snort, squid, squidGuard, Suricata (intrusion detection), pfBlockerNG, among other add-ons.
2
Once configured, pfSense is a set it and forget it experience. Best of all, restoring a previous configuration is super-easy even if the Web UI isn’t working. This is helpful as you can choose number 15 on the list of console option and select a restore point. Setting up SSH is possible either from the console or even from the web UI. With regard to documentation, pfSense is in a class all their own.
Is pfSense the best option for you? It is if you’re an intermediate to advanced user. Plus, it also helps to find a getting started guide along with their documentation before you jump right in. This will help you to avoid any mistakes along the way.
Smoothwall Express
Smoothwall Express is the oldest of the list here. It’s based on Smoothwall GPL, which has an interesting history as there was also a proprietary aspect to it at one time. Booting from ISO greets me with a ncurses interface welcome page. The installation feels like most ncurses installations with its hard disk prep, installing the files, and so on.
During the installation, I was asked if I’d like to restore a previous configuration. I love this feature and I’m glad to see Smoothwall asking me this question as it means users can restore a broken installation if needed. For my needs, I chose No, then kept on with the rest of the install.
The next interesting question the installer asked me was whether or not I’d like to use an open, half-open or closed security policy. Even better, the benefits of each choice were very clearly explained to me. For most people, half-open is the best choice and that’s what I chose.
Now I’m presented with a network card configuration menu. I begin with the network configuration type. At this point, since I was being asked color related stuff. This just went from newbie friendly to “huh” in two seconds. Thankfully the Smoothwall Express guide provided me with a clear outline of what the heck was up with all the color choices. Basically, they represent my networking layout how my network is setup. For my needs, I selected Green+Red and hit Ok.
Next up was selecting my card assignments. Remembering which card model and MAC address represented each NIC made this process super-simple. From there, I continued through setting up my address and DNS/Gateway settings. For most people, I highly recommend following the official guide.
Upon rebooting the new install, I’m presented with a CLI login screen. Since the user and root credentials were setup during the install, I simply logged in. Once logged in, I was then presented with a terminal prompt.
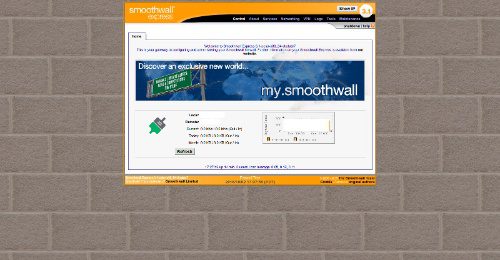
At this point, I was able to connect to my assigned IP address for SmoothWall at port 81. From there, my first impression was how dated the interface felt. That’s not a negative, as it was easy to navigate. But it did feel like a legacy platform.
Features provided with Smoothwall aren’t as extensive as with Untangle and pfSense. But Smoothwall does provide the basic firewall features like IDS, IP blocking, stats, filtering and so on. The fact that it has web proxy built in as an option doesn’t hurt, either.
Smoothwall is perhaps a fair choice for anyone from the beginner to advanced. I’ve used it in the past and I would be perfectly okay using it again if pfSense disappeared for some reason. Smoothwall Express isn’t what I’d call a UTM. But as a decent firewall in a box with router capabilities, it’s perfectly usable.
Other firewall appliances
You may have noticed that I didn’t include Sophos UTM, IPCop or Endian. I gave up on the first in the list as I don’t think I should have to sign-up, then discover I need to sign-up for a free trial. No thank you, I’ll pass. As for IPCop, I simply don’t have any experience with it. As for Endian, it looks quite modern and usable. The feature set is decent and perhaps here soon I’ll have a chance to drop in with it and see how it does.
What say you? Perhaps you don’t care for any of these and swear by dd-wrt or Tomato on a consumer router? Maybe instead, there are some amazing UTM/Firewall solutions that you swear by and would like to share with us? Whatever it may be, hit the Comments below and let me know what your favorite firewall/router appliance happens to be.


